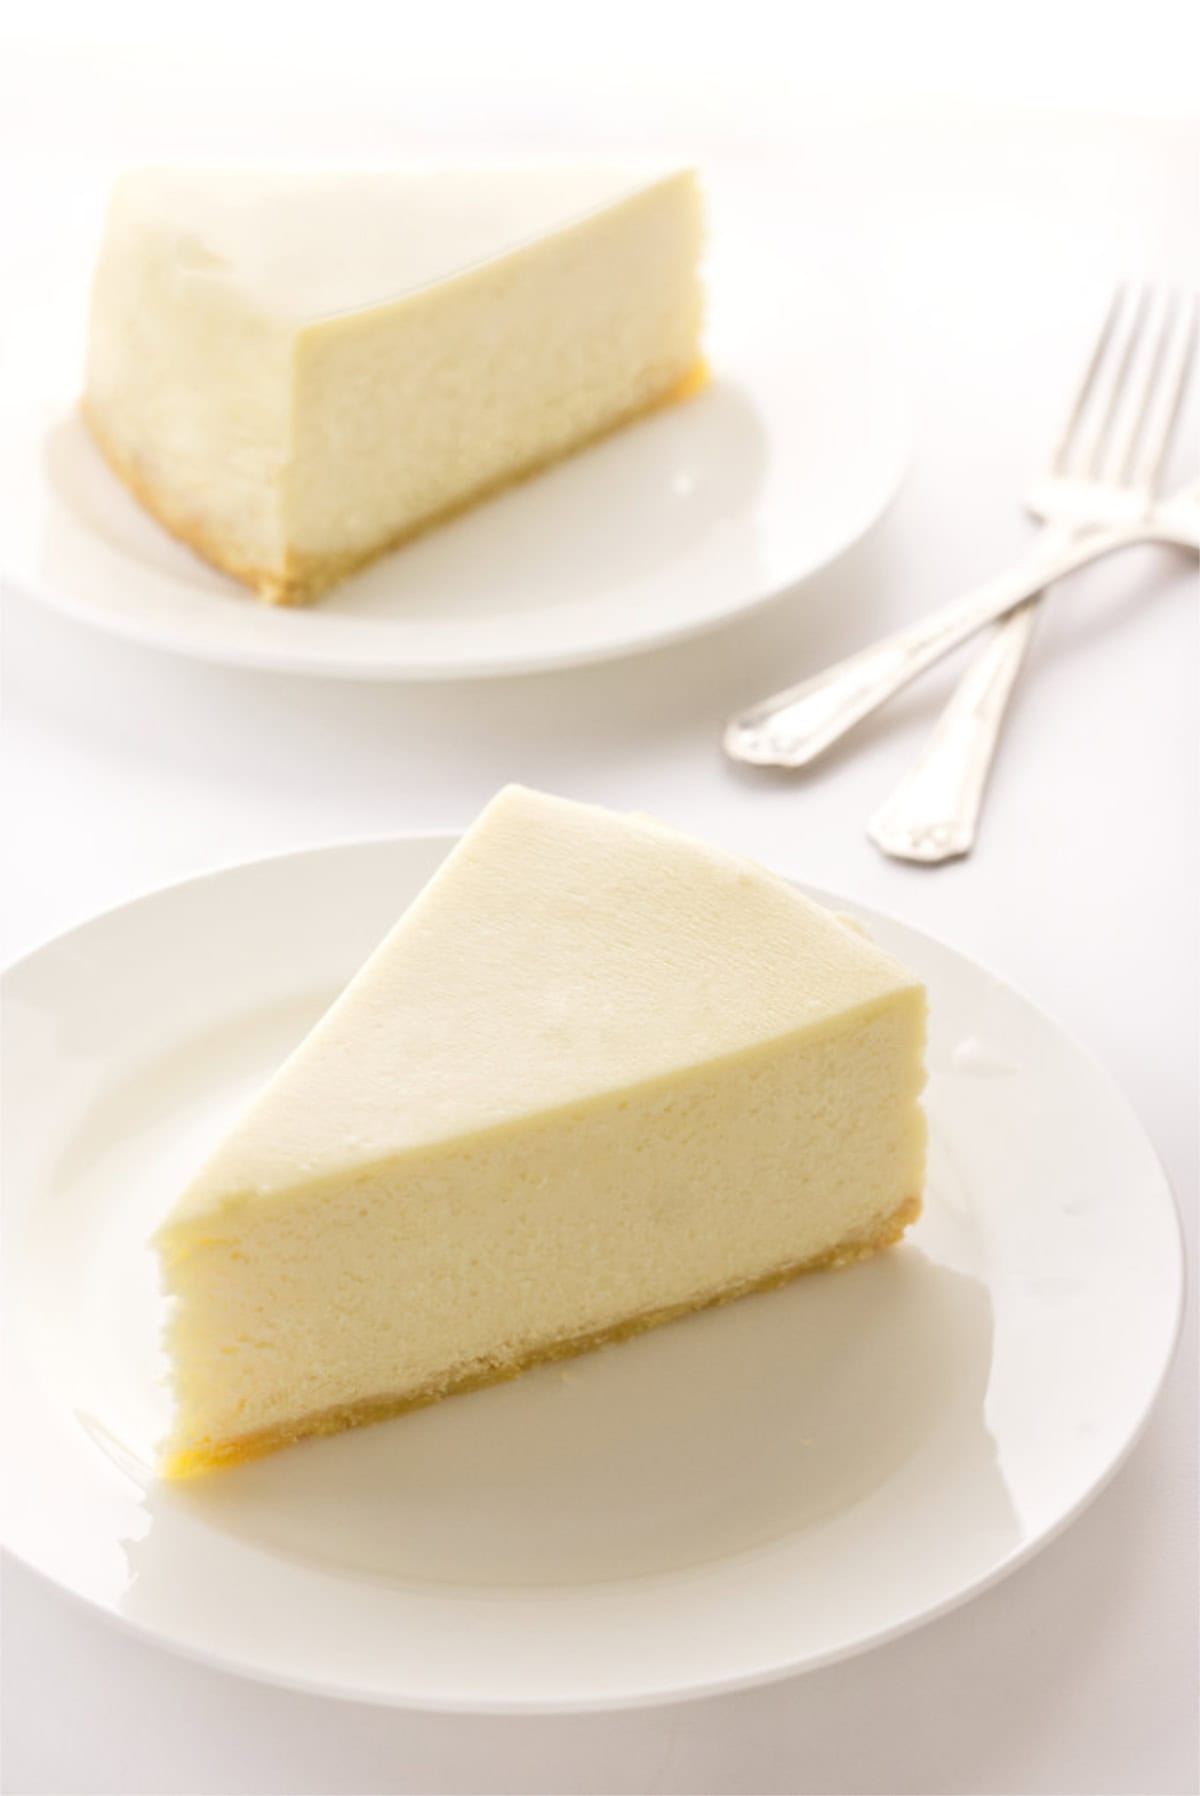
No Water Bath Cheesecake? You bet! This recipe throws out the traditional water bath method for a fuss-free approach that delivers creamy, dreamy cheesecake perfection. Forget the extra steps and potential mess – this cheesecake comes together in a flash with simple ingredients and a low and slow baking technique.
The result? A flawlessly smooth and decadent cheesecake that's guaranteed to impress without requiring any fancy equipment or complicated procedures.
Why You'll Love This Dessert
This easy no-bake cheesecake comes together in a flash and delivers restaurant-quality results, making it the perfect dessert for busy schedules or beginner bakers.
So ditch the water bath and get ready to whip up this crowd-pleasing dessert in no time!
- No Water Bath Needed: Ditch the extra steps and potential mess – this cheesecake bakes beautifully without a water bath.
- Beginner-Friendly: This recipe is straightforward and requires no fancy equipment, making it perfect for bakers of all skill levels.
- Creamy Dream: The low and slow baking method ensures a perfectly smooth and ultra-creamy cheesecake filling.
Ingredients You'll Need
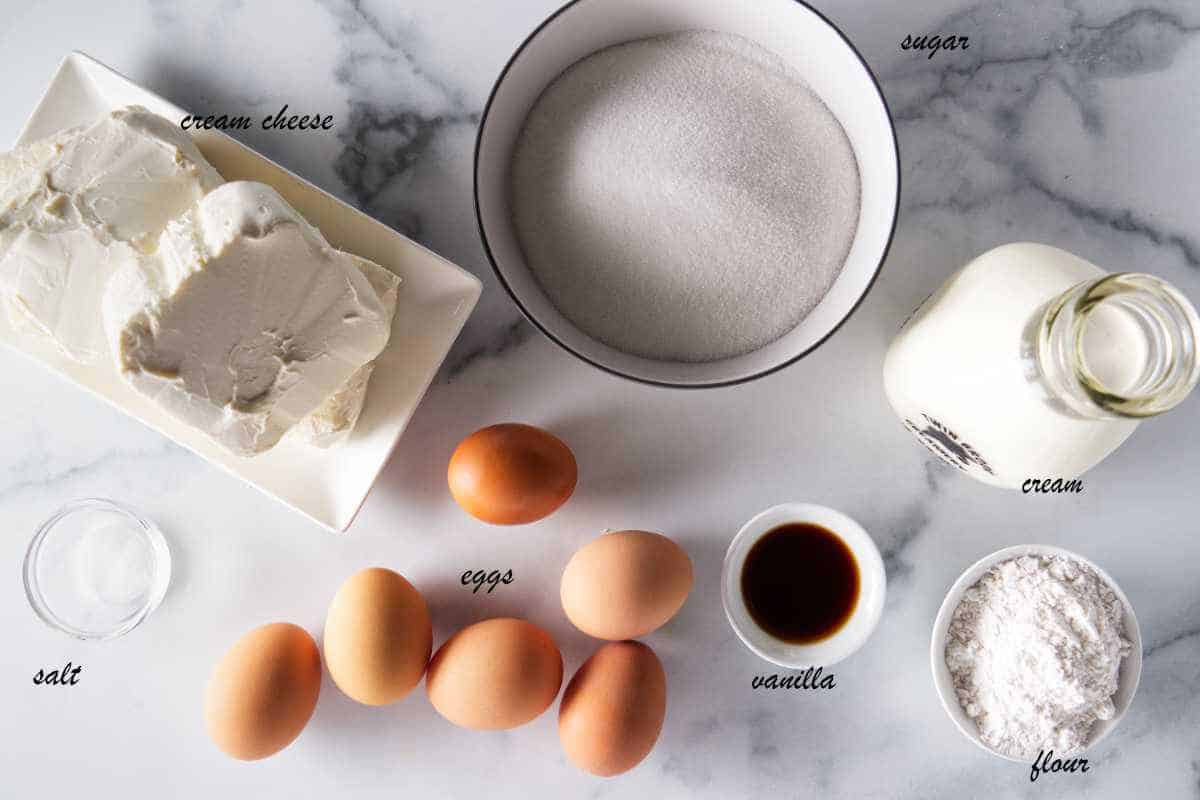
This No Water Bath Cheesecake relies on classic ingredients to create a timeless dessert:
For The Crust
- Crushed cookie crumbs
- Granulated sugar
- Butter, melted
For the Filling
- Cream cheese room, softened to temperature
- Granulated sugar
- Vanilla extract
- Salt
- Eggs room, temperature
Full ingredient amounts and preparation instructions are in the printable recipe card at the bottom of this post.
How To Make Cheesecake Without A Water Bath
- Bake the crust: Combine the ingredients for the crust and press the mixture into the bottom of the pan, then bake it until golden brown.
- Make the custard filling: Mix the cheesecake filling in a large mixing bowl.
- Bake the cheesecake: Pour the cheesecake batter into the crust and bake. At the end of the baking time, turn the oven off, crack the door open about 2 inches, holding it open with a wooden spoon and leave the cake in the oven for 30 minutes.

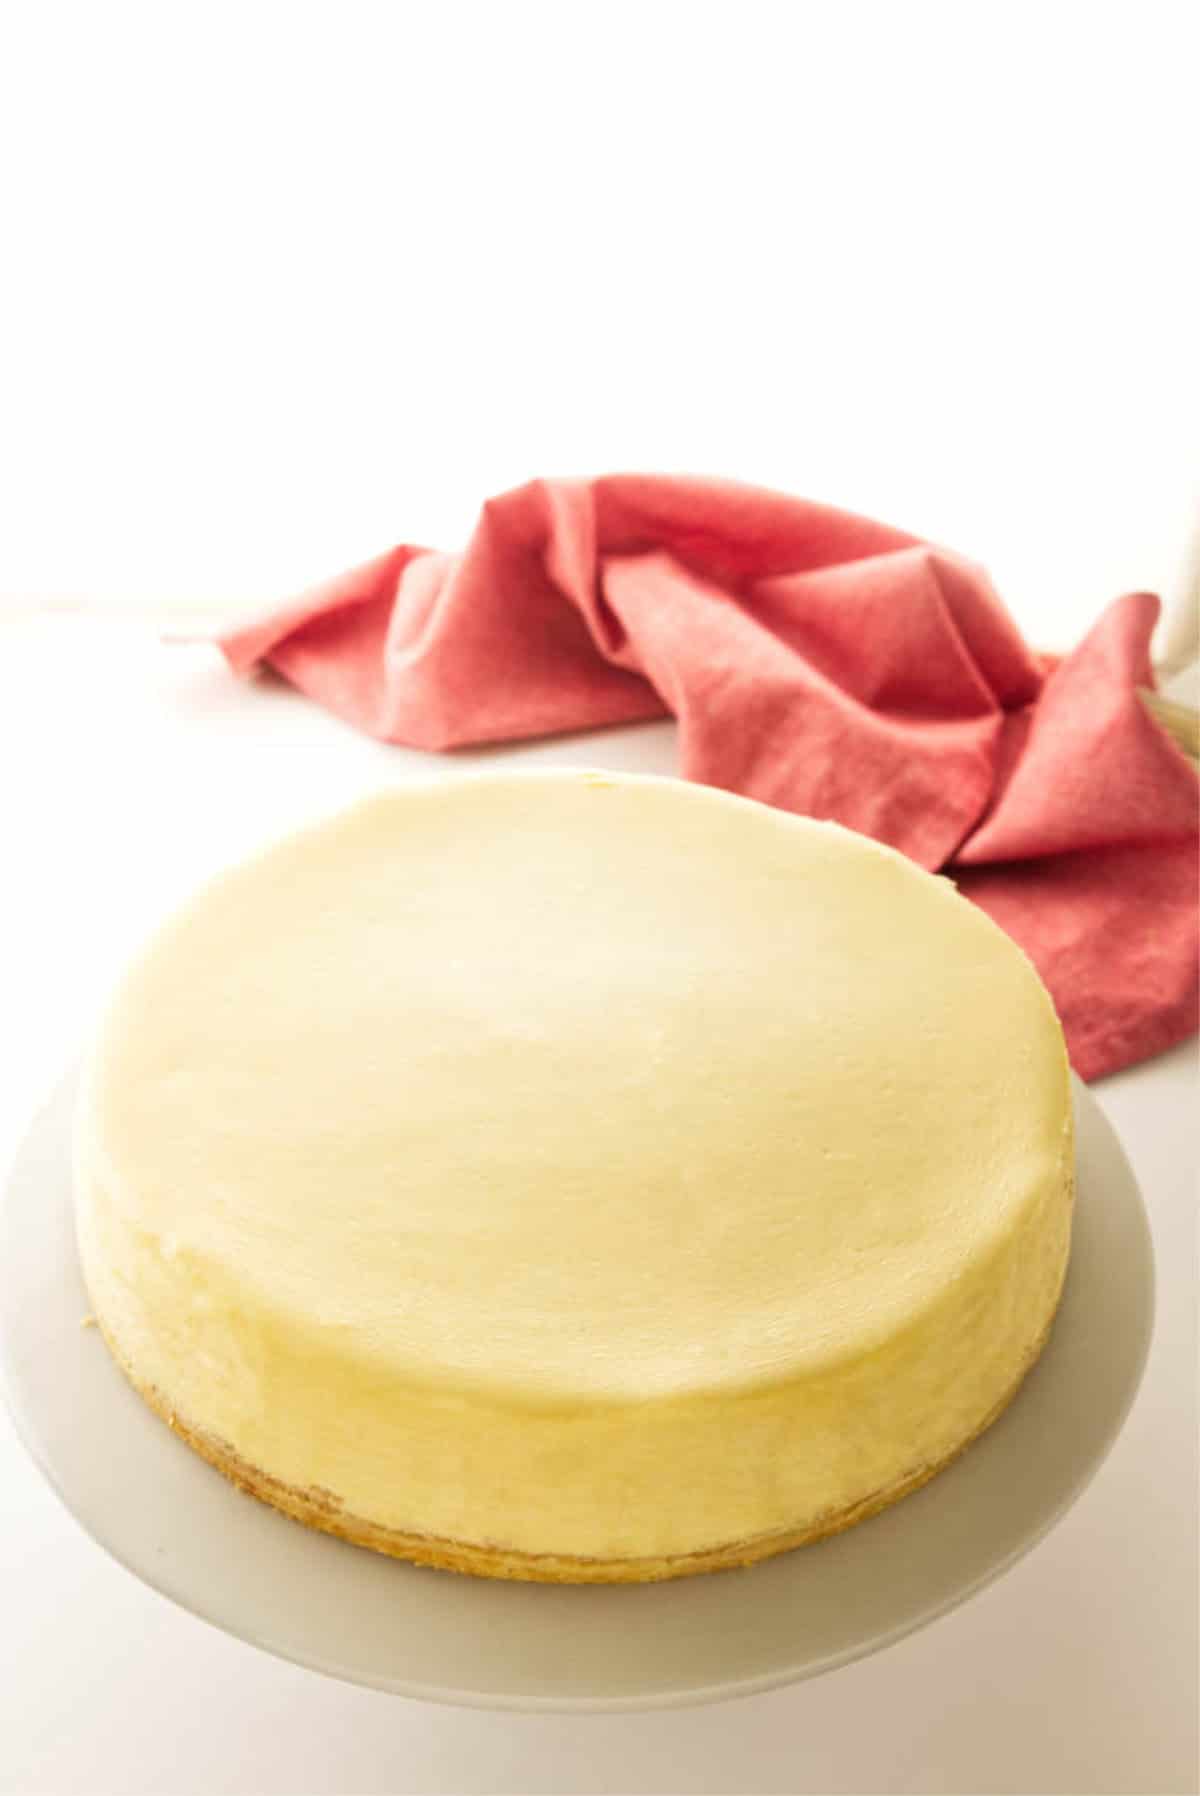
Chill and Serve
- Turn off the oven and leave the cheesecake inside with the door cracked open for 1 hour. This slow cooling helps prevent cracks.
- Once the cheesecake has cooled for an hour, remove it from the oven and refrigerate it for at least 6 hours, or overnight, until completely chilled.
Substitutions and Variations
Get creative and personalize your No Water Bath Cheesecake with these fun variations:
- Swirl in your favorite fruit puree like raspberry or blueberry into the cheesecake filling for a burst of flavor.
- For a decadent touch, drizzle melted chocolate ganache over the top of the chilled cheesecake.
- Zest and juice a lemon or orange into the cheesecake filling for a refreshing citrus twist.
Tips for Success
Here are a few tips for making this no water bath method cheesecake:
- Ensure all your ingredients, especially the cream cheese, are at room temperature for a smooth and even batter.
- Overmixing the batter can incorporate air bubbles, which can lead to cracks in the cheesecake. Mix until just combined.
- Resist the urge to peek into the oven frequently. The low and slow baking process is key to preventing cracks.
Serving Suggestions
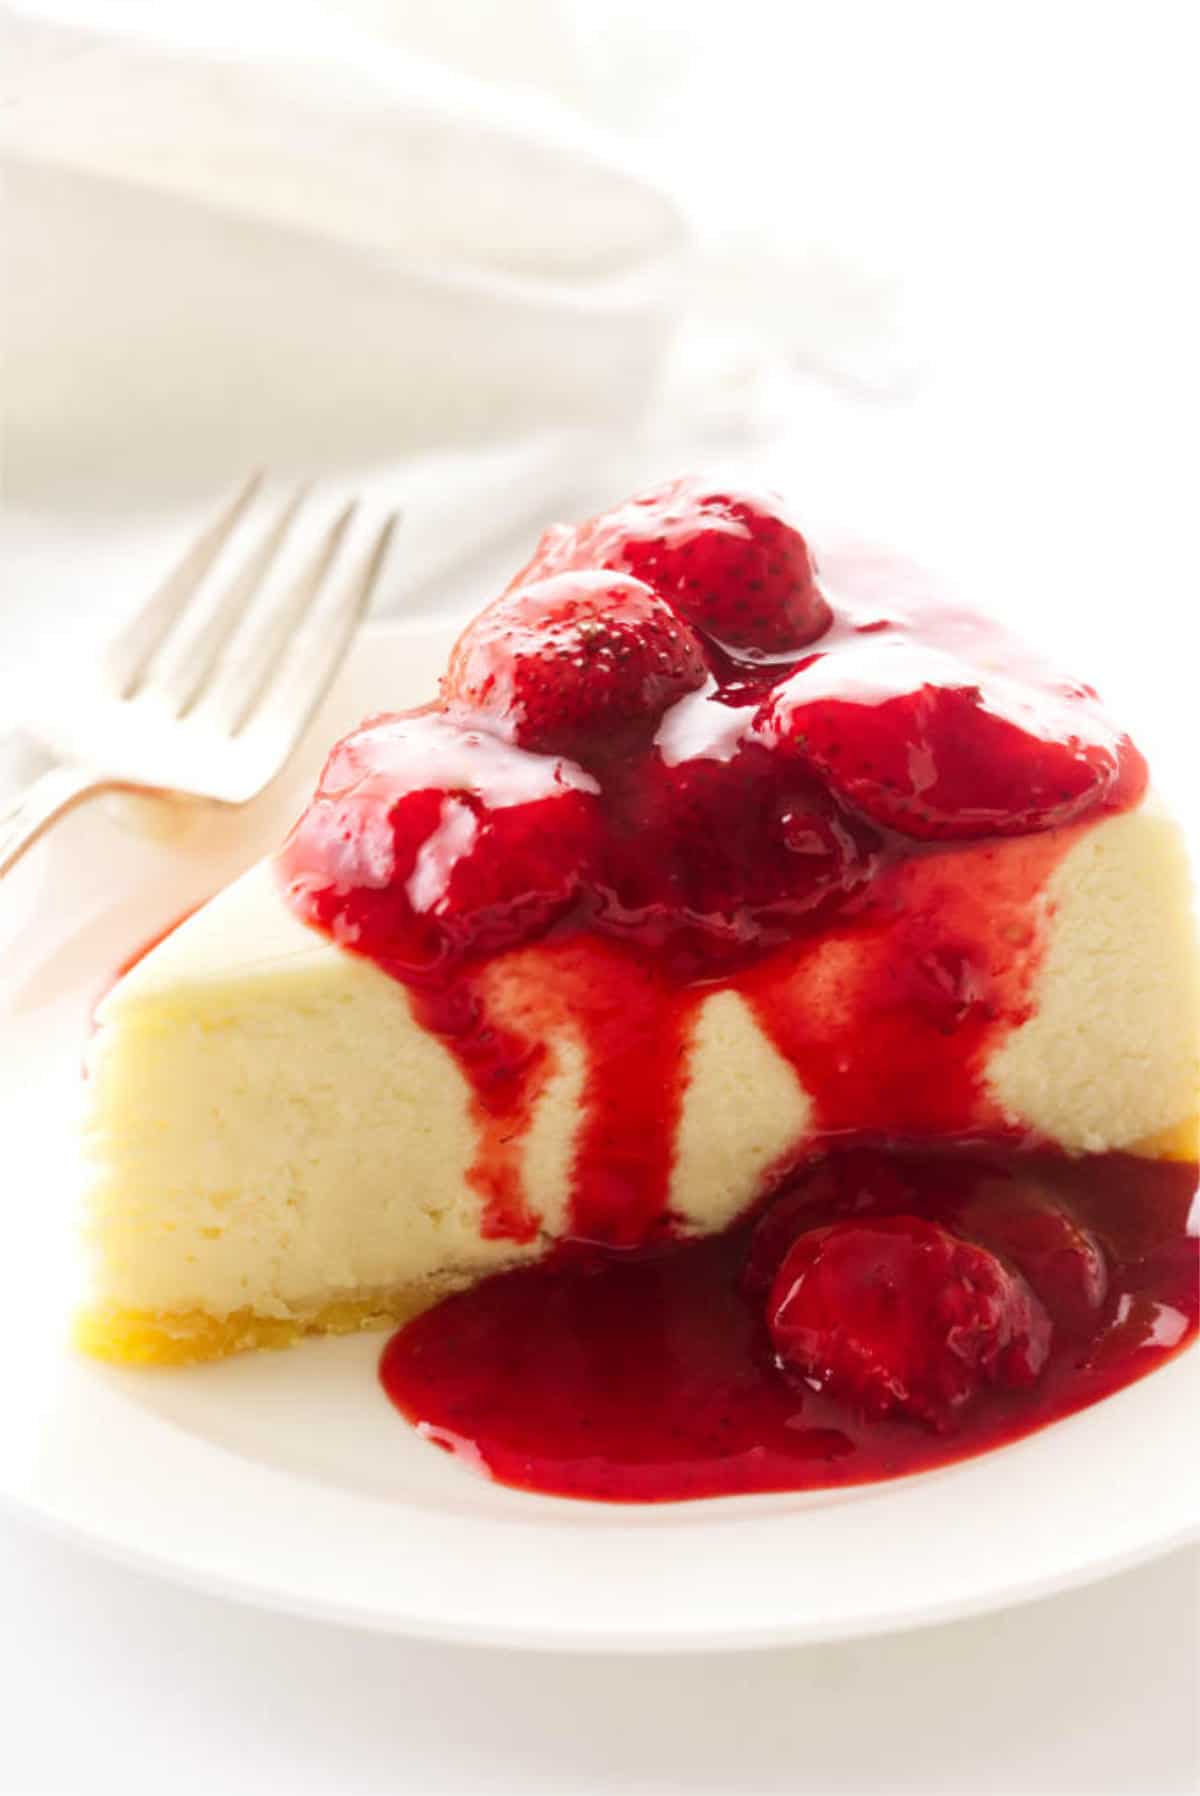
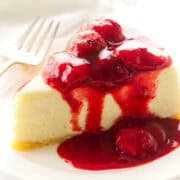
Serve No Water Bath Cheesecake alongside fresh berries, whipped cream, and a drizzle of chocolate sauce for an extra decadent presentation. For a delightful summer dessert, pair a slice of cheesecake with a scoop of vanilla ice cream and a mint garnish.
This cheesecake is also perfect for a potluck or party. Slice it into small squares for easy serving.
Related Recipes
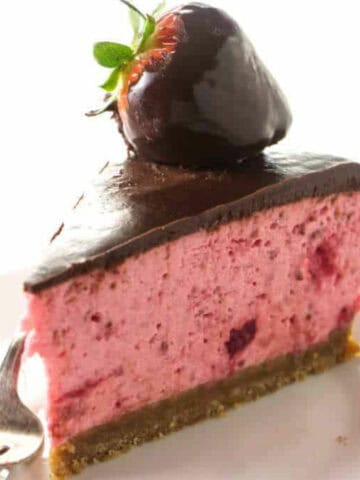
- No-Bake Chocolate Covered Strawberry Cheesecake
- Bourbon Vanilla Cheesecake with Chocolate Ganache
- Easy Basque Burnt Cheesecake
- Chantilly Cake with Fresh Berries
Equipment
Equipment can have a big impact on how a recipe turns out. Below are some of my favorite pieces of equipment that I use when making this dish.
As an Amazon Associate I earn from qualifying purchases.
Storage and Reheating
- Leftover cheesecake can be stored in the refrigerator for up to 5 days. Make sure to cover it tightly with plastic wrap to prevent it from drying out or absorbing any unwanted flavors.
- You can also freeze this cheesecake for up to 2 months. Wrap the entire cheesecake tightly in plastic wrap and then again in aluminum foil for best results.
- Thaw it in the refrigerator overnight before serving.
Frequently Asked Questions
Unlike cheesecakes baked in a water bath, No Water Bath Cheesecakes have a slightly looser and wobblier center. A gentle jiggle is a good indicator of doneness. You can also insert a toothpick into the center.
Sour cream is a common ingredient in cheesecake recipes as it adds a slight tanginess and helps to create a smooth and creamy texture. This No Water Bath Cheesecake relies on a higher proportion of cream cheese to achieve a similar result.
It's tempting to crank up the heat to shorten the baking time, but resist! The low and slow baking method is key to achieving a perfectly set cheesecake without cracks. A higher temperature can cause the edges to brown too quickly while the center remains undercooked. Stick with the recipe's recommended temperature for best results.
More Five Star Desserts


Cheesecake Recipe Without a Water Bath
Ingredients
For The Crust:
- 2 cups of crushed cookie crumbs
- 3 tablespoons granulated sugar
- ½ cup butter melted
For the Filling:
- 3 pounds cream cheese room temperature- (1,360 grams) see notes
- 1-⅔ cup 334 grams granulated sugar
- 2 teaspoons vanilla extract
- ½ teaspoon salt
- 6 eggs room temperature
Instructions
- Before you start: This recipe makes a 3-inch tall cheesecake. If your cheesecake pan is not 3-½ inches tall, the batter will spill out. You can extend the height of the cheesecake pan by adding a parchment collar to the inside rim of the pan. See below.
For the Crust:
- Heat the oven to 350°F
- Coat the inside rim of a large 10-inch springform pan with butter. Cut a 3-½ inch strip of parchment paper to line the inside edge of the pan forming a collar that extends past the top of the pan. Spray the paper and the pan bottom with oil spray. (See Notes)
- Place the crushed cookie crumbs in a bowl and stir in the sugar. Drizzle the melted butter over the mixture and toss to combine.
- Tip the crumb mixture into the prepared pan and press against the bottom of the pan. Transfer to the oven and bake for 12 minutes. Remove and cool completely.
To Make the Custard Filling:
- Reduce the oven temperature to 225°F.
- In a large mixing bowl, add the cream cheese and beat it on medium speed for 1 minute to break up the cream cheese. You will need to stop the motor and scrape the bottom and sides.
- Add the sugar to the cream cheese and mix on medium- low speed until well blended. Add the vanilla and salt.
- Increase the speed to high and beat the mixture for 6 to 8 minutes, until it is smooth, light, and creamy. Be sure to stop the mixer at least twice during this time to scrape down the bottom and sides of the bowl.
- Break the eggs into a dish and whisk to break them up, being careful to not create bubbles or foam.
- Set the mixer speed to low. Pour ¼ of the eggs into the cream cheese mixture and mix until they are incorporated about 15-20 seconds. Stop the mixer and scrape down the sides and bottom of the bowl.
- Continue adding the eggs ¼ at a time. Stop the mixer and scrape the bowl between additions. Keep the mixer speed on low while you add the eggs so you don't introduce air into the batter.
- Pour the cheesecake batter over the crust. Smooth the top with a spatula.
- Transfer the cheesecake to the middle rack of the oven.
- Bake the cheesecake for 2 hours and 10 minutes.
- Turn off the oven and crack the oven door about 2-inches, holding it open with a wooden spoon. Keep the cheesecake in the oven for 30 minutes, then remove the wooden spoon and open the oven door completely. Let the cake cool in the oven for an additional 30 minutes.
- Transfer the cake to a wire cooling rack and when it has cooled completely place it in the refrigerator for at least 6 hours or overnight.
To serve:
- Transfer the cheesecake to the work surface, unsnap the hinge on the side of the pan and lift off the rim of the pan. Gently peel away the parchment paper around the side of the cake.
- Transfer the cake to a cake plate. U se a long, thin knife to slide between the metal pan bottom and the cake, working it loose as you turn the cake. (A turntable is useful here)
- When the cake is loosened, use a spatula to lift the cake onto the serving plate.
- Slice the cake with a thin knife dipped into hot water with each slice. Serve plain or with your favorite topping.
Notes
- Use a cookie of your choice, good options are Oreo sandwich cookies, shortbread, gingersnaps, graham crackers or pretzels. It will take approximately 44 Oreo cookies to make 2 cups of crumbs.
- Adding a parchment collar to the inside of the pan ensures the batter will not overflow during baking.
- We used a total of 6 packages (8 ounces each) of cream cheese for a total of 48 ounces. Costco sells a large block of cream cheese that is 48 ounces. If you are a Costco shopper, you can use that package, otherwise, you will need to purchase several packages.
- Be sure the cream cheese and eggs are at room temperature.
- Whisk the eggs in a separate bowl before you add them to the batter. That will ensure that they incorporate into the batter easily. Don't over-whisk the eggs and make them foamy. Foamy eggs will add air to the cheesecake batter and make the cheesecake crack.
- Add the eggs in portions, beating until mixed before adding the next portion.
- When the cheesecake is finished baking, turn the oven off, crack the door, and leave the cheesecake in the oven. It will continue to bake from residual heat. After 30 minutes, open the oven door and let the cheesecake cool in the oven for another 30 minutes. This technique helps the cheesecake cool slowly and prevents cracks from forming.
- If your oven has the capability of baking with either the regular bake setting or the convection setting, choose the regular setting and the cake will remain pale as in the photos.
- If you want to be precise and guarantee an ultra-creamy cheesecake, use an instant-read thermometer and bake the cheesecake until it reaches an internal temperature of 145°F to 150°F.
Anonymous
Thank you for sharing this recipe